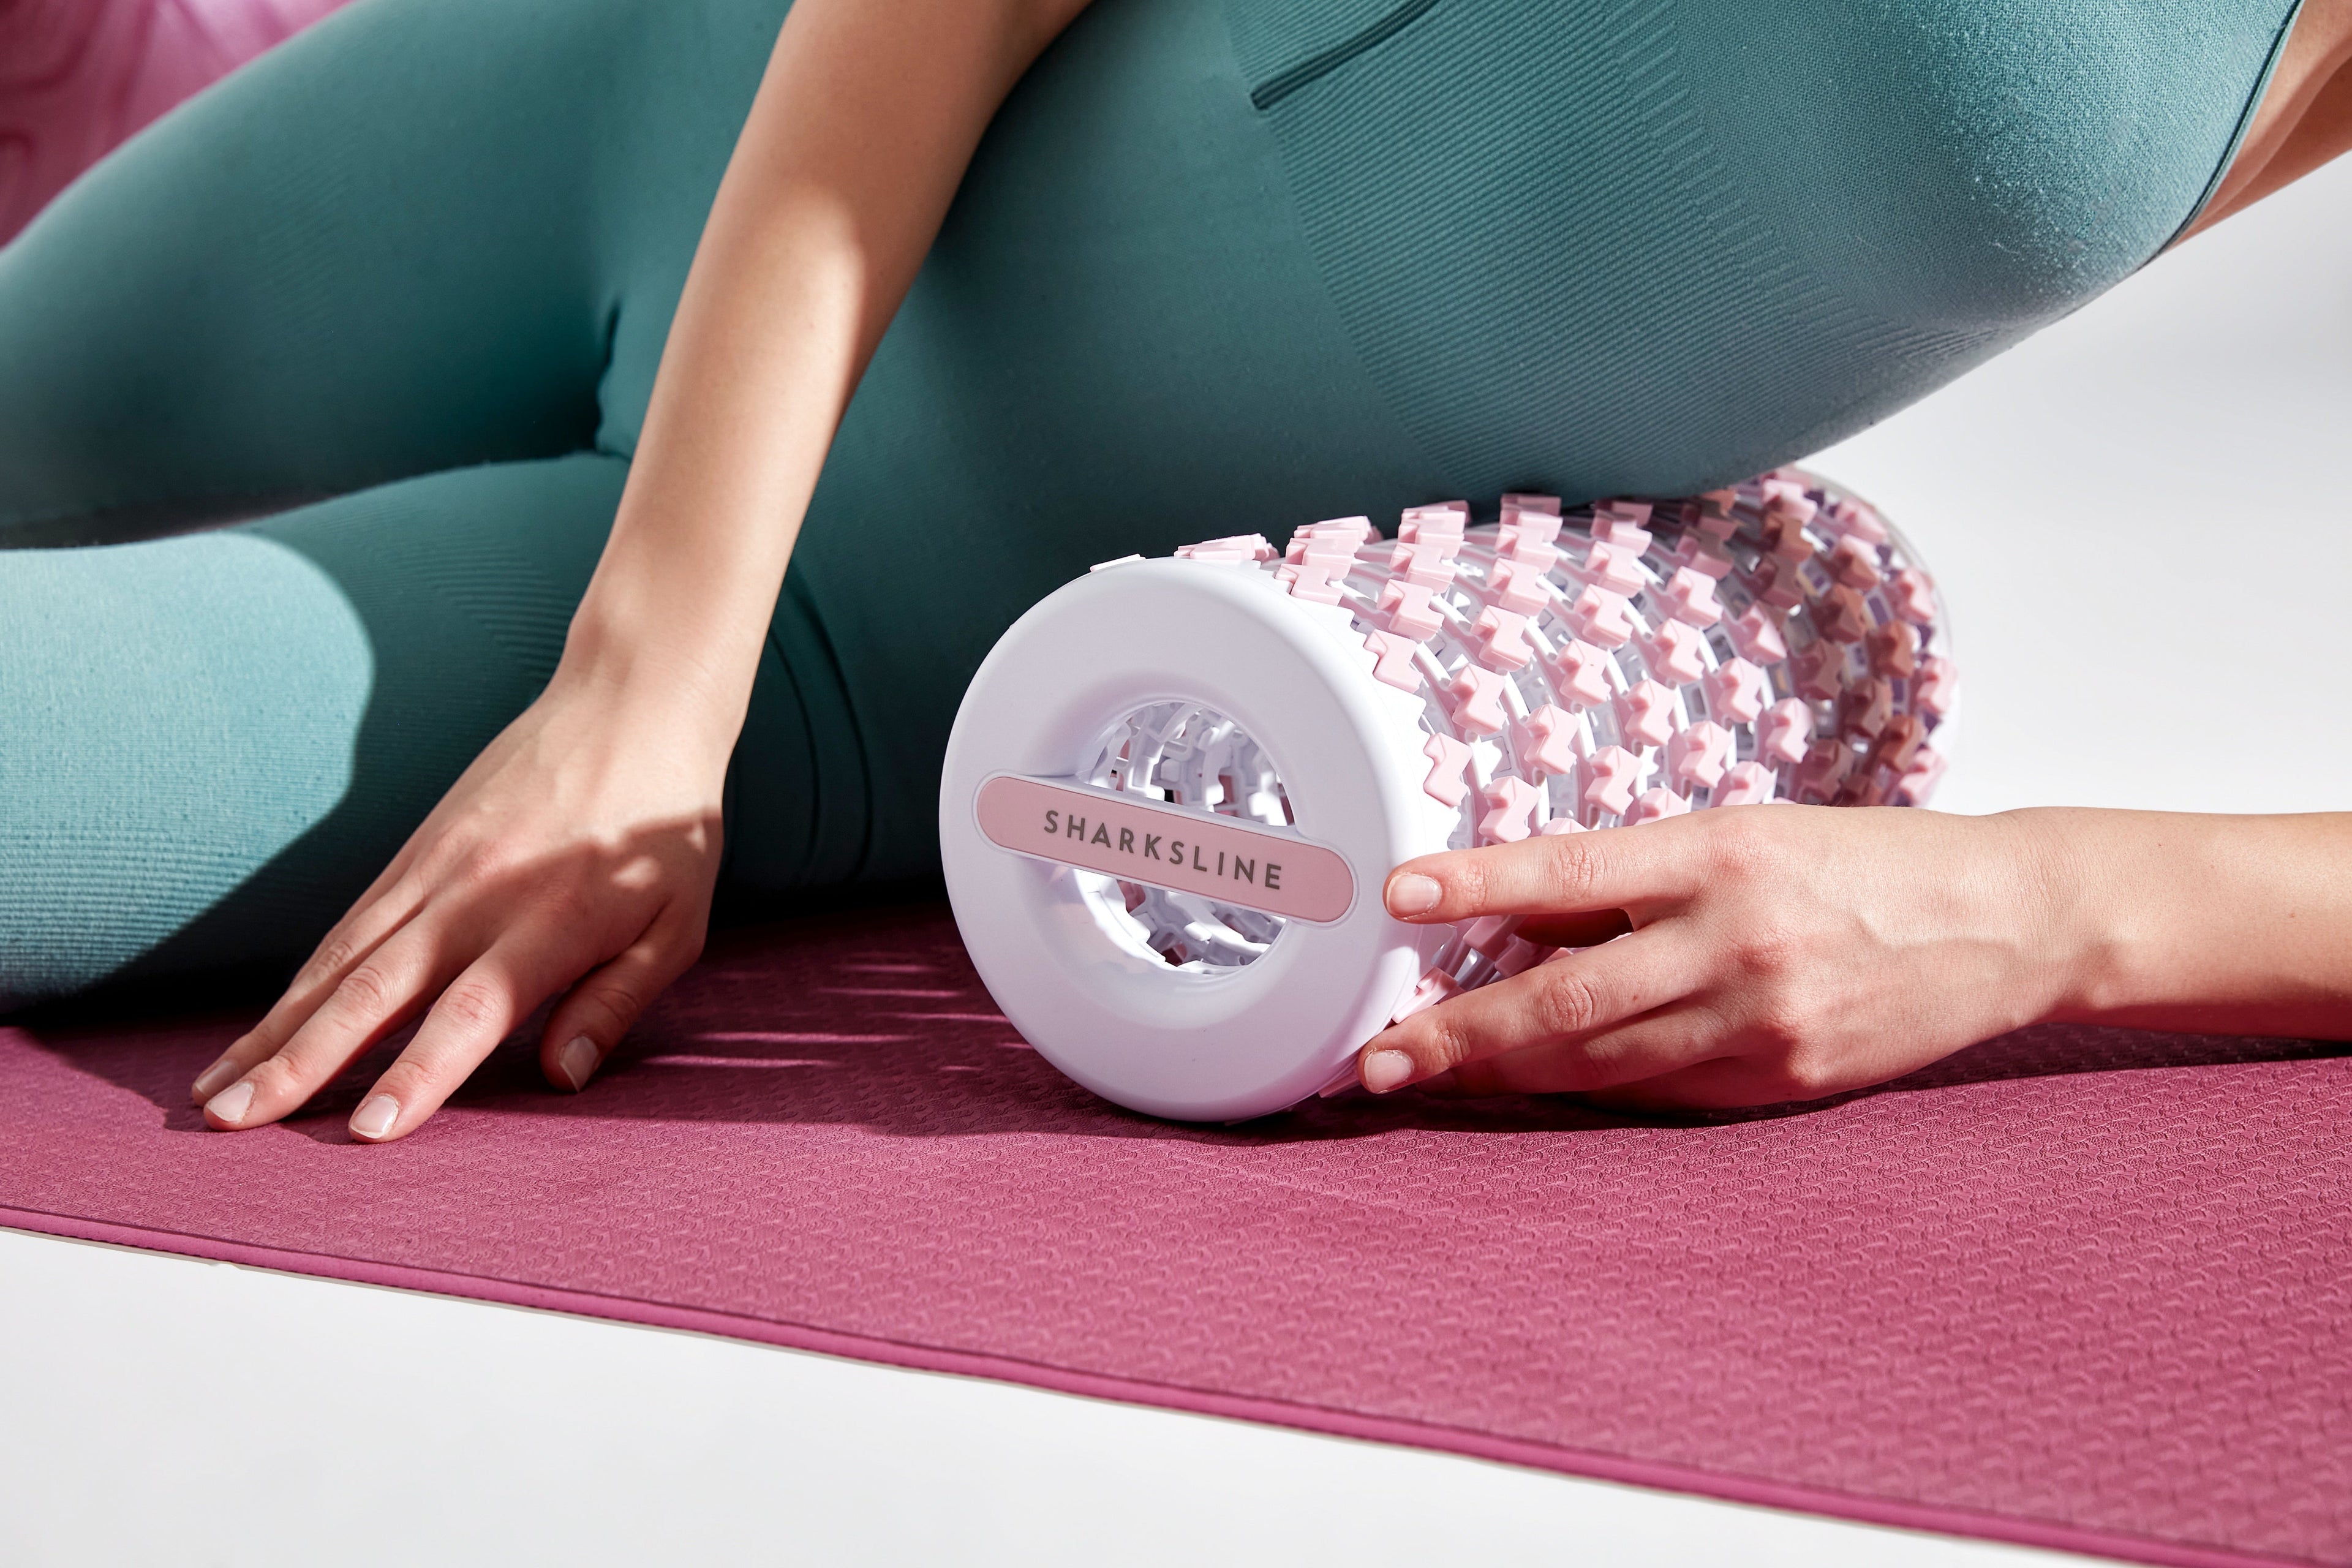
How to Use a Foam Roller: A 10-Minute Mobility & Recovery Guide

How to Use a Foam Roller: A 10-Minute Mobility & Recovery Guide
A foam roller (massage roller) can help reduce the sensation of tightness, support range of motion, and make warm-ups and cool-downs more effective. Used correctly, it’s a simple, low-cost tool for daily mobility and recovery.
Quick Takeaways
- Roll slowly and with control (~2–3 cm/sec). Keep breathing through the nose.
- Avoid rolling directly on bony landmarks/joints (kneecap, elbow, lumbar spine).
- At tender spots, pause for 20–30 seconds and relax into the breath—don’t mash.
- Use short rolling in warm-ups (1–3 min) and longer rolling in cool-downs (5–10 min).
Which Foam Roller? (Firm vs. Soft, Texture, Length)
- Firm vs. Soft: Firm offers deeper input; beginners or highly sensitive users may prefer Soft/Medium and progress to Firm over time.
- Texture: Flat/smooth is versatile and gentler. Patterned/textured models feel more intense; start smooth if unsure.
- Length: 33–45 cm is practical for home/travel. 60–90 cm helps with upper-back/pilates variations and broader contact.
Beginner-Friendly 10-Minute Full-Body Routine
Short on time? Do this. Durations below are per side unless noted; repeat for both sides.
-
Calves — 30–45 s/side
Relax the foot; roll from heel toward knee. Tip: rotate foot in/out to reach different fibers. -
Hamstrings — 30–45 s/side
Sit, lift hips slightly, and roll the back of the thigh. Keep a neutral low back. -
Glutes — 30–45 s/side
Cross ankle over opposite knee; lean slightly to the working side. Hold tender points for ~20 s. -
Upper Back (T-spine) — 60 s total
Roll between shoulder blades only. Do not roll directly on the lumbar spine. -
Lats (Side Back) — 30–45 s/side
Arm overhead; roll gently from under the armpit toward the ribs. -
Quads — 30–45 s/side
Face down; from above the knee toward the hip. Tip: brace the core, avoid kneecap pressure.
Technique Tips
- Breathing: slow nasal breathing; soften on the exhale.
- Pressure: aim for relaxation, not “no-pain-no-gain.”
- Direction: mostly along the muscle fibers; add small angle changes to explore.
- Contraindications: avoid rolling over joints, fresh bruises/swelling, or areas of inflammation.
When Should You Roll?
- Warm-up: 1–3 min quick roll + light activation (e.g., mini squats, band pull-aparts).
- Post-workout / Off days: 5–10 min slower, deeper focus to down-regulate.
- High soreness: reduce time/pressure; next-day soreness is not the goal.
Common Mistakes
- Rolling on the low back: prioritize upper back and glutes instead.
- Going too fast: speeds faster than ~2–3 cm/sec are ineffective.
- Hammering one hot spot: address surrounding tissues; don’t punish a single point.
Which Product Should I Choose?
- Beginner: Soft/Medium smooth surface, 33–45 cm.
- Intermediate/Advanced: Firm smooth or light texture, 45–60 cm.
- Mobility focus: longer rollers (60–90 cm) for thoracic mobility/pilates variations.
Shop Massage Rollers Read All Guides
FAQ
Can I foam roll every day?
Usually yes—adjust duration and pressure to your body’s response. Rest if sensitivity spikes.
Should I roll directly on the IT band?
Direct pressure is uncomfortable for many. Focus on vastus lateralis (outer quad) and glute medius around it instead.
How painful is “normal”?
Keep perceived intensity at ≤ 6/10. Stop if you feel sharp pain, numbness, or tingling.


